


3M™ Semi-Rigid Plastic Repair 34240, 47.3 mL Cartridge 6/Case
3M Stock
7000045498
Previous 3M Stock
60455052401
UPC
00051131342408
Alternative ID
34240
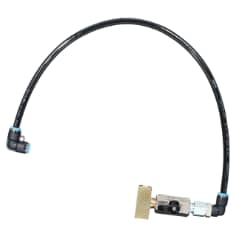
3M™ OEM Match Air Supply Kit 33999, 10 Kits/Case
3M Stock
7100320196
Previous 3M Stock
60450008218
UPC
00068060060068
Alternative ID
33999

3M™ Acryl Putty, 05095, White, 14.5 oz, 12 tubes per case
3M Stock
7000045479
Previous 3M Stock
60455049217
UPC
00051131050952
Alternative ID
05095

3M™ Super Fast Repair Adhesive 04747, Amber, 47.3 mL Cartridge 6/Case
3M Stock
7100006276
Previous 3M Stock
60455052427
UPC
00051131047471
Alternative ID
04747
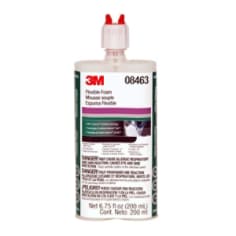
3M™ Flexible Foam 08463, 200 mL Cartridge 6/Case
3M Stock
7100045768
Previous 3M Stock
60980036473
UPC
00051131084636
Alternative ID
08463
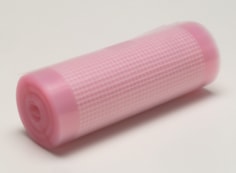
3M™ Reinforcement Patch 04904, 5 in x 12 ft Roll 6/Case
3M Stock
7000121599
Previous 3M Stock
62961599016
UPC
00051131049048
Alternative ID
04904

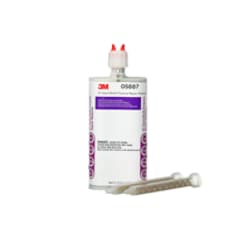
3M™ Rigid Parts Repair 05885, Blue, 200 mL Cartridge 6/Case
3M Stock
7100020862
Previous 3M Stock
60980030849
UPC
00051131058859
Alternative ID
05885
3M™ EZ Sand Multi Purpose Repair Material 35887, 47.3 mL Cartridge 6/Case
3M Stock
7000045496
Previous 3M Stock
60455052096
UPC
00051131358874
Alternative ID
35887


3M™ Plastic Contour Sheet 04903, 5 in x 12 ft Roll 6/Case
3M Stock
7000121598
Alternative ID
04903

3M™ Flexible Bumper Patch 05888, Kit, Black, 4 in x 8 in, 1/Case
3M Stock
7000045602
UPC
00051131058880
Alternative ID
05888
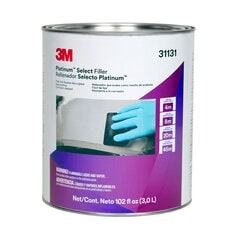
3M™ Platinum™ Select Filler 31131, 1 gal ( 102 fl oz), 4/Case
3M Stock
B40071784
UPC
00051131311312